Vibrato — One Finger at a Time
Isolate and develop controlled vibrato for each individual finger.
Tablature
Preview only. Log in to access the fully interactive version with playback, tempo control, and real-time feedback. Sign in →
Why It Matters
Most guitarists can only vibrate with their index or middle finger. Isolating each finger builds uniform strength and wrist rotation, allowing you to add expression to any note regardless of the fingering.
How to Practice
- 1Execute wavelike pitch modulation using only the active fretting finger.
- 2Rotate your wrist and forearm to drive the oscillation cleanly.
Tips & Techniques
- •Start slowly, focusing on achieving a consistent width and speed.
- •Keep the unused fingers relaxed and close to the fretboard.
Skills You'll Develop
Ready to Practice?
Start practicing this exercise right now with our interactive tablature and real-time feedback.
Sound Recognition
Real-time audio recognition
Analytics
Track your progress
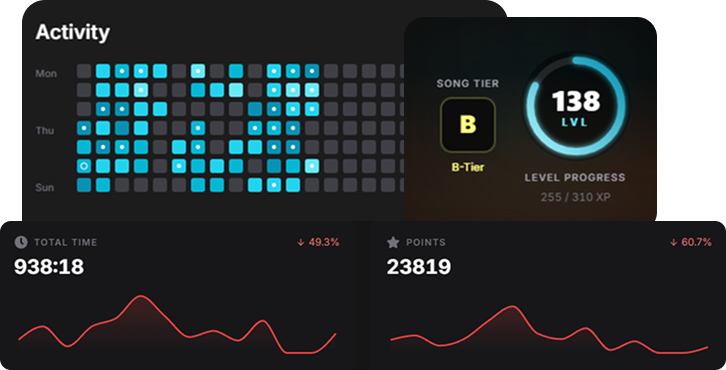
Activity Heatmap
Visualize your streak
Real-time Feedback
Instant corrections
Related Exercises
Vibrato Sustain — Hold It for the Whole Bar
Sustain notes with continuous, even vibrato while executing precise rests to test control over pitch modulation.
Vibrato — Low Position (Frets 1–5)
Develop controlled, wide vibrato in the lower frets with high string tension.
Vibrato — High Position (Frets 12–17)
Adapt your vibrato technique to the narrow frets of the upper register.
Advanced Spider Stairs Exercise
Fret non-adjacent string skipping patterns with wide interval leaps to build absolute finger independence and fingerboard stretch control.