Want to improve your guitar skills? Start small and stay consistent. A simple, focused daily routine can help you build confidence, finger strength, and muscle memory. Here's a quick summary of what you need to know:
- Practice Time: 15–30 minutes daily is better than long, occasional sessions.
- Setup: Keep your guitar accessible, tools like a tuner and metronome nearby, and eliminate distractions.
- Warm-Up: Spend 5–15 minutes on exercises like chromatic scales and finger stretches to prevent injuries and improve coordination.
- Chords: Begin with basic open chords (like G, C, D, Em) and practice smooth transitions.
- Strumming: Start with simple patterns (e.g., "Down, Down, Up, Up, Down, Up") before adding complexity.
- Scales: Learn beginner-friendly scales like the C Major and E Minor Pentatonic to develop finger strength and fretboard knowledge.
- Songs: Use simple progressions like G-C-D-Em to apply your skills and make practice enjoyable.
Pro Tip: Track your progress with tools like Riff Quest to stay motivated and measure improvement. Even short, consistent sessions can lead to big results over time. Ready to get started? Grab your guitar and dive in!
Beginner Adult Guitar Routine 2025 | Step-by-Step Practice
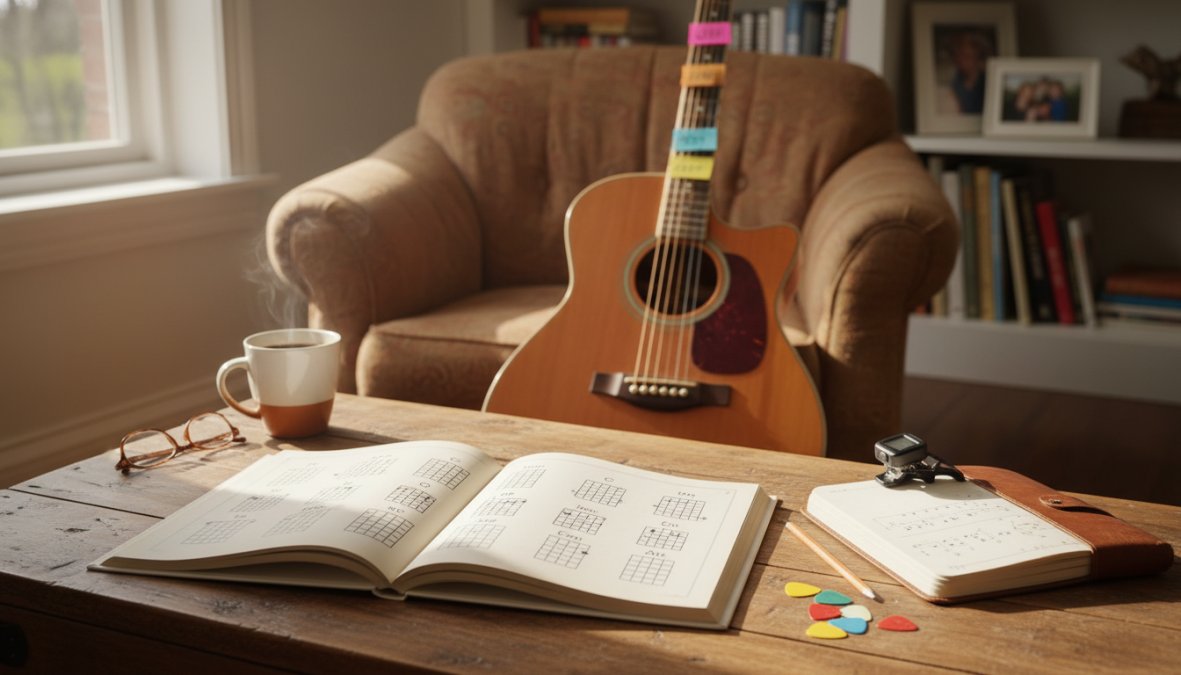
Setting Up Your Practice Space
Creating an ideal practice space can make a huge difference in how often and effectively you play. If your guitar is buried in its case or your practice area is cluttered, it adds unnecessary barriers. And let’s face it - every extra step makes it easier to procrastinate. As Aaron Matthies from Guitar Gear Finder wisely says:
"The more steps involved in starting your practice session, the less likely you will actually start practicing."[5]
Keep your guitar on a stand where it’s always visible and ready to grab. Arrange your tools so everything is within reach, making it as easy as possible to dive into practice.
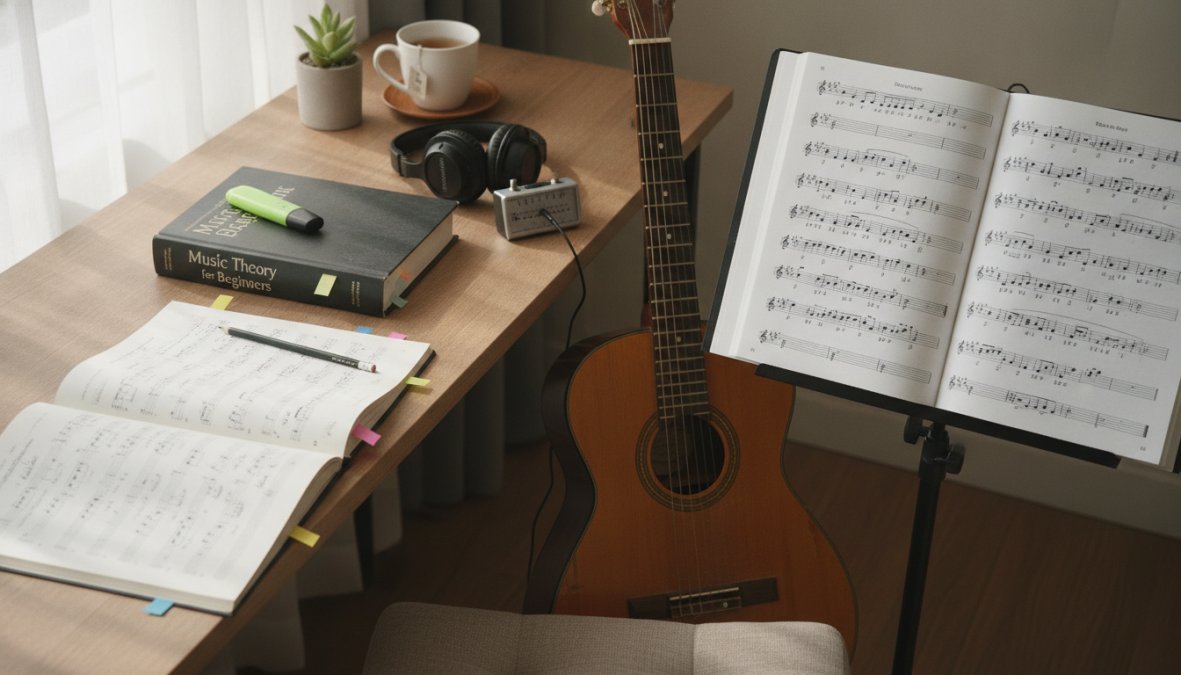
Gather Your Practice Tools
Having the right tools at your fingertips is key. Here’s what you’ll want nearby:
- Tuner: Essential for keeping your guitar in tune and training your ear[5].
- Metronome: Helps develop your timing, a must for playing with others[6].
- Music Stand: Keeps your materials at eye level, reducing neck strain.
- Notebook or Journal: Handy for tracking lesson notes and progress[6].
If you’re using apps on your smartphone for tuning or a metronome, switch it to airplane mode to avoid distractions. Electric guitar players should have their amp, pedals, and cables set up and ready to go - just flip a switch, and you’re good to start. The goal is to eliminate any setup time that might make you hesitate.
Maintain Proper Posture
Your seating choice and posture are just as important as your tools. Use a firm chair or stool without armrests. Regular desk chairs can get in the way of the guitar body and limit your movement[5]. Sit upright with your back straight, and keep your wrist in a neutral position to avoid strain. Awkward wrist angles can lead to issues like Carpal Tunnel Syndrome[3].
For your fretting hand, place your thumb behind the neck, roughly opposite your middle finger. This reduces tension and improves your technique[8]. Before you start playing, take 30 seconds to warm up: rotate your wrists 10 times in both directions and stretch your fingers toward your forearm for 15 seconds[8]. During practice, take short breaks every 15 to 20 minutes - set your guitar down and shake out your hands[3]. These quick rests prevent fatigue and keep you focused.
If you’re struggling to press down the strings, your guitar’s action might be too high. In that case, consider getting it professionally adjusted to make it easier to play[3]. A comfortable setup means less frustration and more progress.
Daily Warm-Up Exercises
Warming up before playing the guitar isn't just a good idea - it's essential. Guitar playing is a physical activity that places repetitive strain on your hands, fingers, and wrists. Adam Perlmutter, Editor at Acoustic Guitar, explains it well:
"Like it or not, playing the guitar is an athletic endeavor. Just like any sport or exercise... a guitarist should warm up before delving into practice or performance." [10]
Spending 5 to 15 minutes warming up before practice is time well spent. It helps prevent injuries, boosts blood flow to your fingers, and sharpens your focus [9]. But here's a key tip: never stretch cold muscles. Start with light movements to get your hands warmed up before transitioning into stretches. Guitarist and educator Chadwick Becks emphasizes this:
"Stretching cold muscles is a big 'no-no,' just as it is in physical exercise. Therefore, begin your practice session by getting your hands moving." [9]
Once your hands are ready, dive into exercises designed to prepare both hands and fingers for your practice session.
Chromatic Scale Exercises
The "1-2-3-4" chromatic walk is a tried-and-true warm-up exercise. It works both hands in unison and builds coordination. To do this:
- Place your index finger on the first fret of the low E string.
- Play frets 1, 2, 3, and 4 using fingers 1, 2, 3, and 4.
- Use alternate picking (down-up strokes) with your picking hand.
- Repeat the pattern across all six strings.
Keep the tempo slow - 60 BPM on a metronome is a good starting point. This allows you to focus on precision without overworking your fingers.
Finger Independence Drills
The "Spider" exercise is another great warm-up, designed to improve finger independence. It emphasizes movements between non-adjacent fingers. For example:
- Play fingers 1 and 3 on the G string.
- Follow with fingers 2 and 4 on the B string.
Experiment with different finger combinations, and practice slowly to maintain clarity and avoid tension. This drill helps you build control and dexterity over time [2].
Hand and Wrist Stretches
After warming up with chromatic exercises, it's time to stretch. Stretches help relieve tension and reduce the risk of repetitive strain injuries. Try these:
- Extend your arm with your palm facing down, then gently pull your fingers back with your other hand for 30 seconds.
- Repeat the same stretch with your palm facing up.
- For a deeper stretch, pull each finger back toward your forearm one at a time, holding each for 15 to 30 seconds [9] [8].
These stretches target your forearm muscles and help keep your hands feeling relaxed and ready to play.
Learning Basic Chords
The first step in learning guitar is mastering open chords. These chords include at least one open string (a string you play without pressing down any fret), giving them a rich, resonant sound with minimal effort. Getting comfortable with open chords not only sets the stage for playing countless songs but also makes it easier to tackle more advanced techniques later on.
For beginners, the most important open chords are often called the "Big 8": C Major, A Major, G Major, E Major, D Major, A Minor (Am), E Minor (Em), and D Minor (Dm). As Willie Nelson famously said, "Three chords and the truth, that's what a country song is." And he's right - these basic shapes can open up an entire universe of music.
Core Open Chords
Start with E Minor and G Major, two of the easiest chords to learn. E Minor is a great starting point because it only requires two fingers, making it ideal for building confidence. For G Major, use your middle, ring, and pinky fingers. This positioning leaves your index finger free, which helps with smoother transitions to other chords. When fretting, press down with your fingertips and keep them close to the fret (but not on it) to avoid buzzing.
After strumming a chord, pluck each string individually to check that every note rings clearly. If something sounds off, adjust your fingers or arch your hand to avoid accidentally muting neighboring strings. For D Major, make sure to strum only the top four strings - skip the low E and A strings entirely.
A useful exercise to lock in these shapes is the "Finger Pushup": fret the chord, apply light pressure for half a second, relax your grip without lifting your fingers, and repeat 10 times. This drill helps you fingers memorize the shape and build strength.
To improve your chord transitions, focus on pivot fingers - fingers that stay in place as you switch chords. For example, when moving between C Major and G Major, your ring finger can act as an anchor. Try the "1-Minute Change Challenge": set a timer for 60 seconds and switch back and forth between two chords as many times as possible. Only count transitions where all notes ring clearly. A good beginner goal is 30 clean changes per minute. Start slow with a metronome at 60–70 BPM, then gradually increase the tempo.
Basic Strumming Patterns
Once you're comfortable switching chords, it's time to add rhythm. A popular beginner strumming pattern for 4/4 time is "Down, Down, Up, Up, Down, Up" (D D U U D U). Keep your wrist loose and use small, controlled movements instead of your entire arm to maintain consistency.
If you find strumming tricky while changing chords, practice the pattern on muted strings first. This way, you can focus entirely on your rhythm without worrying about hitting the right notes. Daily practice sessions of 10–15 minutes are far more effective than one long weekly session. Consistency helps build muscle memory and finger strength faster.
Once you've nailed these basics, you can start blending your chord and strumming skills with scales and other techniques to deepen your guitar foundation.
Practicing Scales and Techniques
Now that you've nailed your chord transitions, it's time to dive into scales and techniques that can help refine your playing. Scales are more than just exercises - they strengthen your fingers, sharpen your picking accuracy, and unlock the fretboard. As Mike Duffy from Fender explains:
"Guitar scales are organized sequences of notes played in an ascending or descending order that help you build finger strength and dexterity" [13].
By incorporating these scales and techniques, you'll start bridging your rhythm skills with lead playing.
C Major and E Minor Pentatonic Scales
A great place to start is the C Major scale (C-D-E-F-G-A-B). With no sharps or flats, it's perfect for beginners looking to understand scales [13]. Start slow - set your metronome to 40–60 BPM - and use alternate picking. Saying each note out loud as you play can also help you map out the fretboard [15].
Next up is the E Minor Pentatonic scale (E-G-A-B-D), widely considered the "ground zero for soloing" in rock and blues [13]. This five-note scale is beginner-friendly and uses open strings and the first few frets. Start in the open position, then move to the fifth position to strengthen your fretting hand. Keep your fingers close to the fretboard to minimize unnecessary movement and improve finger independence [15].
Once you can play the scale three times in a row without mistakes, try increasing the metronome speed by 5 BPM [3]. After memorizing the patterns, challenge yourself by changing the direction or playing in thirds to push your technique further [14].
After mastering scales, you can shift focus to arpeggios, which take your note clarity and phrasing to the next level.
Basic Arpeggios
Arpeggios, or "broken chords", involve playing the notes of a chord one at a time instead of strumming them together [16]. Start with major and minor triad arpeggios like C Major (C-E-G) and A Minor (A-C-E). These exercises sharpen your note clarity and finger dexterity while training your ear to recognize chord structures [18].
Play each arpeggio slowly, moving from the lowest note to the highest. Use a metronome set to a comfortable pace (60–80 BPM) and focus on maintaining steady timing and volume. Once you're confident with one position, shift the fingering pattern up or down the neck. This helps you explore different keys and understand how chord shapes connect across the fretboard.
As Music Theory for Musicians puts it:
"Playing arpeggios is one of the FASTEST ways to get better on your instrument. It is also one of the fastest ways to start understanding general music theory and IMPROVISING!!" [17].
Playing Simple Songs
Once you've got a handle on chords and scales, the next step is putting them into action by playing full songs. A great starting point is the G-C-D-Em chord progression, which is a staple in countless guitar tracks across genres [20]. These four chords - often referred to as the I-VI-IV-V progression (G-Em-C-D) - can unlock a huge catalog of songs, all while sticking to straightforward open chord shapes [19].
Songs with G-C-D-Em Progressions
Pick songs in 4/4 time that feature the G, C, D, and Em chords. Focus on clean, smooth transitions between chords to keep the music flowing. One key tip from JustinGuitar is:
"DO NOT start adding in your strumming until you can make your changes fast enough to keep the strumming even!" [4]
Start with silent switching - practice moving your fretting hand between chord shapes without strumming. This builds muscle memory and improves your accuracy [11]. Use the pivot finger technique to make transitions smoother [12], and aim to place all your fingers on the next chord shape simultaneously [22].
When you're ready to add strumming, begin with a simple all-downstroke pattern (D D D D) to lock in your timing. Once that feels natural, try a down-up pattern (D U D U) to introduce some rhythmic variation [23][24]. A useful trick is the 2-beat rule: strum the current chord for two beats, then use the next two beats as "travel time" to shift your fingers to the next chord [21]. This method helps you stay in rhythm while improving your transitions.
To sharpen your skills, use a one-minute switching drill. Set a timer for 60 seconds and count how many times you can switch clearly between two chords, like G and Em. If you're a beginner, aim for at least 30 chord changes in one minute before tackling more advanced strumming patterns [4]. Practicing this way for 15 minutes a day, 4 to 6 times a week, can lead to noticeable progress [11].
Tracking Progress with Riff Quest

Keeping track of your progress is a great way to stay consistent with daily practice. Structured routines help build skills, but having clear metrics to measure growth can keep your motivation alive. Riff Quest offers a free platform where you can log practice sessions, monitor your progress, and stay engaged - no subscriptions, hidden fees, or credit cards involved. With over 600 guitarists already using the platform, it’s helping players turn their daily practice into measurable growth through detailed logs and visual tools [25].
Logging Daily Practice Sessions
Riff Quest’s Report Practice feature allows you to log the details of every session, whether you’re working on chord transitions, scales, or specific songs. The platform includes a smart practice timer to help you stay focused and ensure accurate session tracking. You can practice songs from the community-rated library, follow a Guided Routine for a structured workout, or use the Generate Session feature for a ready-made practice plan. Progress is tracked across areas like Technique, Theory, and Ear Training, with all this data feeding into the platform’s visual analytics.
To help you stay consistent, Riff Quest offers daily quests like "Complete a Practice Plan" (rewarding you with +100 XP) or "Add song to 'Want to Learn.'" As the platform puts it:
"The secret to guitar mastery is consistency. Our tools are designed to keep you picking up your guitar every single day" [25].
Viewing Your Progress
Riff Quest provides visual tools like practice logs, frequency charts, and an activity heatmap to give you a clear picture of your efforts [25]. The XP system turns every minute of practice into experience points, helping you level up and making your progress feel rewarding. In their words:
"By earning skill points and leveling up, you get a tangible sense of achievement for every minute spent with your guitar. It turns 'messy practice' into a rewarding progression system" [25].
You can also explore the Achievements Map to unlock badges of varying rarities, such as "Fire Practice" (Very Rare) or "Elite Master" (Epic). Skill-specific analytics and Intelligence filters allow you to identify which techniques need more attention, giving you the insights to practice smarter, not harder. This feedback ensures your time with the guitar is as productive as possible.
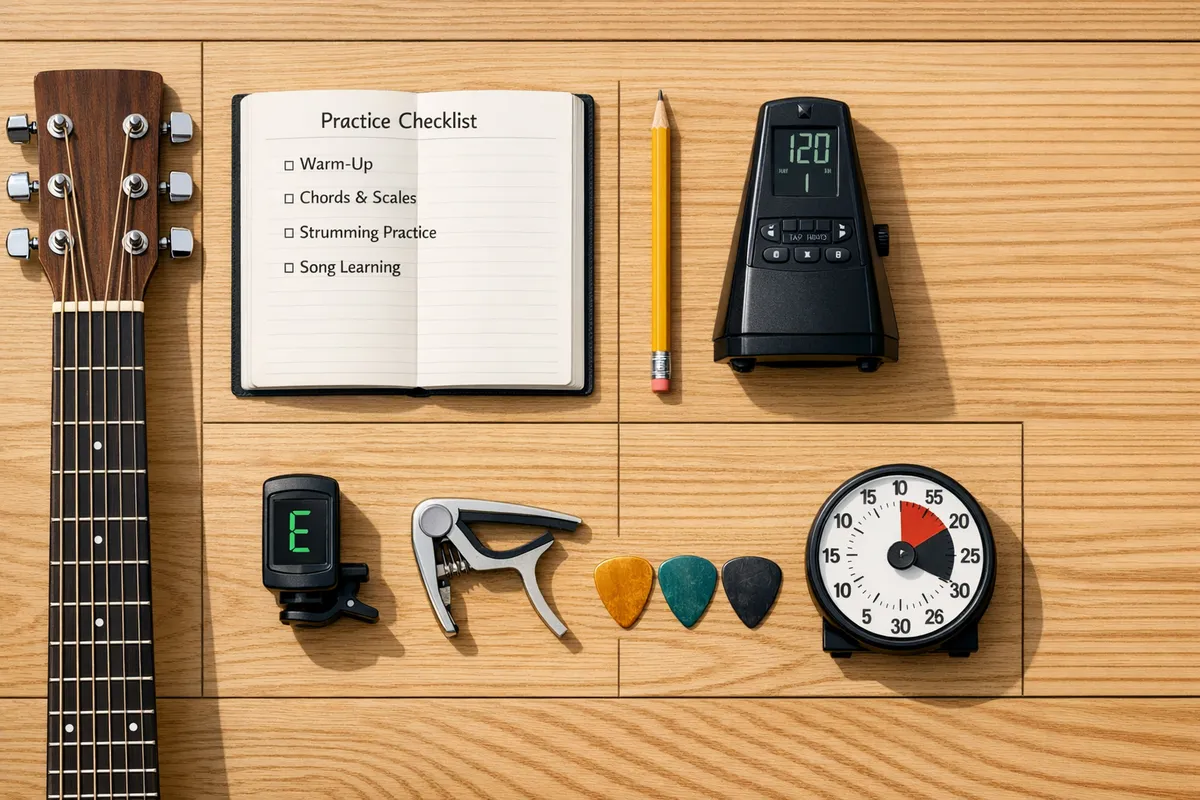
Sample 15-20 Minute Daily Checklist
A focused 15–20 minute session, split into key activities, can improve your guitar skills more effectively than occasional marathon sessions. Building on your earlier drills and chord exercises, this checklist provides a clear structure for your daily practice.
Here’s how you can break it down:
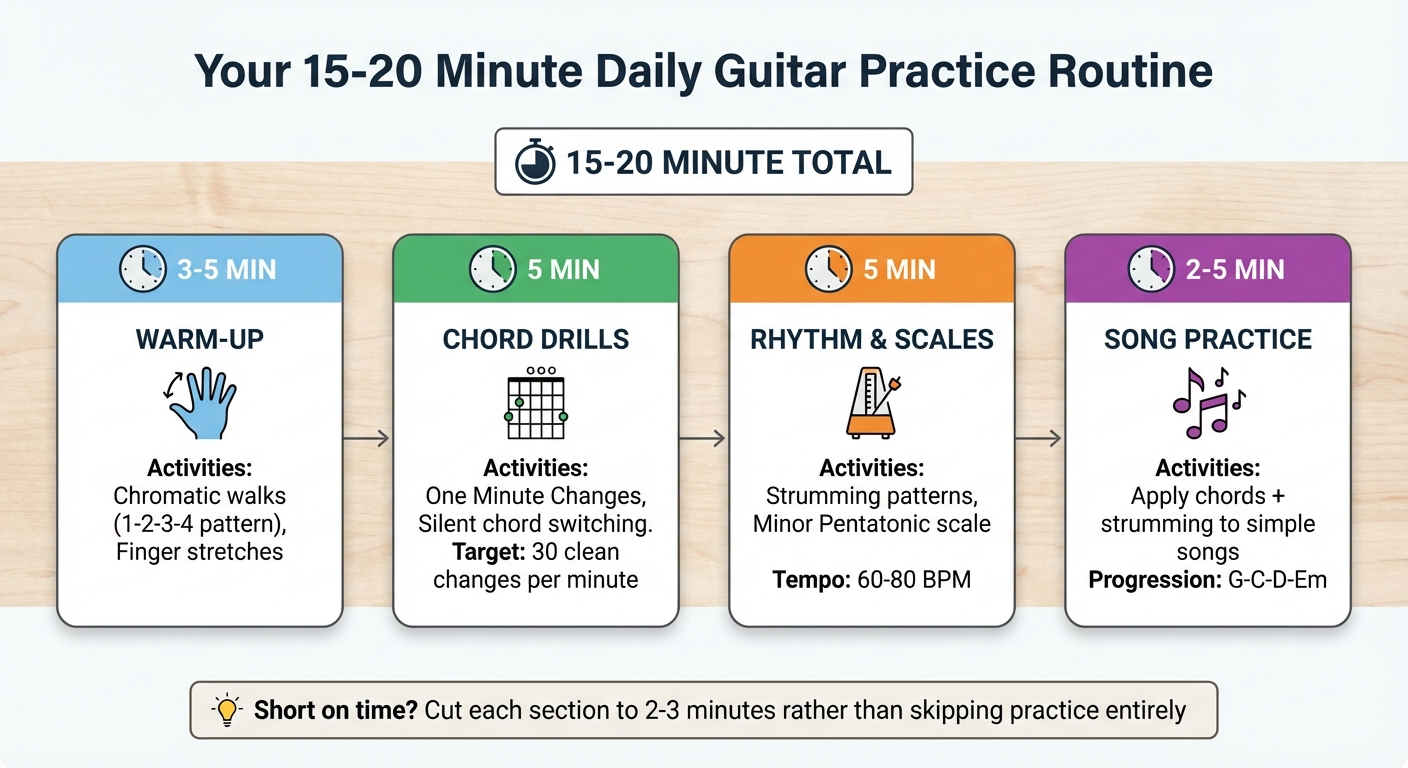
| Activity | Time | Focus |
|---|---|---|
| Warm-Up | 3–5 minutes | Chromatic walks (like the 1-2-3-4 pattern) or simple finger stretches. |
| Chord Drills | 5 minutes | Practice "One Minute Changes" or silently switch between chord shapes. |
| Rhythm & Scales | 5 minutes | Work on strumming patterns or run through the Minor Pentatonic scale. |
| Song Practice | 2–5 minutes | Combine your chords and strumming with a simple song. |
Consistency matters, even on hectic days. If you're short on time, cut each section to 2–3 minutes rather than skipping practice altogether. Regular, short sessions keep your momentum going. Use a metronome to stay on beat during drills, and wrap up with a favorite riff to keep things fun and motivating.
Got extra time? Stretch each section a little longer while sticking to this structure. This method ensures steady growth in your dexterity, technical ability, and overall musicality.
Conclusion
A focused 15–20 minute practice session can lead to noticeable improvement. Guitarist Justin Comstock puts it perfectly:
"You don't need to practice for hours. You just need to practice the right things, every day" [7].
The checklist provided earlier takes the guesswork out of your practice routine, helping you focus on activities that genuinely improve your skills. Consistency is the secret ingredient here. Studies confirm that practicing for just 15 minutes daily does more for building muscle memory than cramming seven hours into a single day [3]. Your hands, ears, and brain thrive on regular repetition, working together more effectively with steady practice. Even on hectic days, a shorter version of your routine can keep your progress intact.
This kind of routine becomes the backbone of sustained growth. Start tomorrow with a simple plan: warm-ups, chord transitions, and an easy song. Record your efforts in tools like Riff Quest to see how far you’ve come - every focused session adds to your skillset. As Dr. Robin Alexander of Guitarmetrics wisely points out:
"Every great guitarist started with clumsy fingers and buzzing strings. What separates them from those who quit is the habit of showing up daily." [1]
Set a timer for 15 minutes and dive in. Your future self will be grateful!
FAQs
How do I know what to practice first each day?
To kick off your practice session, begin with some warm-up exercises to get your hands ready and improve coordination. These could include finger dexterity drills or practicing basic chord changes. Once you’re warmed up, shift your attention to the essentials: work on scales, chord progressions, or even simple songs to strengthen your foundation.
Having clear goals and sticking to a structured routine is key to staying consistent and seeing improvement. Start with the basics and gradually move on to more advanced techniques. This approach ensures your practice time is both productive and rewarding.
What should I do if my fingers hurt or my wrist feels strained?
If your fingers or wrist feel strained while playing, it’s important to address the issue to prevent injury. Start by checking your technique - press the strings only as firmly as necessary and position your fingers close to the frets for better efficiency. Incorporate warm-ups like finger stretches and basic exercises, such as chromatic scales, to loosen up your hands before playing.
If the discomfort persists, consider making adjustments to your guitar. Lowering the action or switching to lighter strings can make it easier to play and reduce strain. Above all, pay attention to your body’s signals and take breaks as needed to avoid pushing yourself too hard.
When should I increase my metronome speed?
When practicing with a metronome, it's important to increase the speed only after you can play the exercise or song comfortably at a slower pace without making mistakes. Starting at a slow tempo allows you to focus on accuracy and maintain control. Once you're able to play smoothly and with confidence, gradually bump up the tempo in small steps. This approach ensures you develop precision and solid technique while steering clear of ingraining any errors.